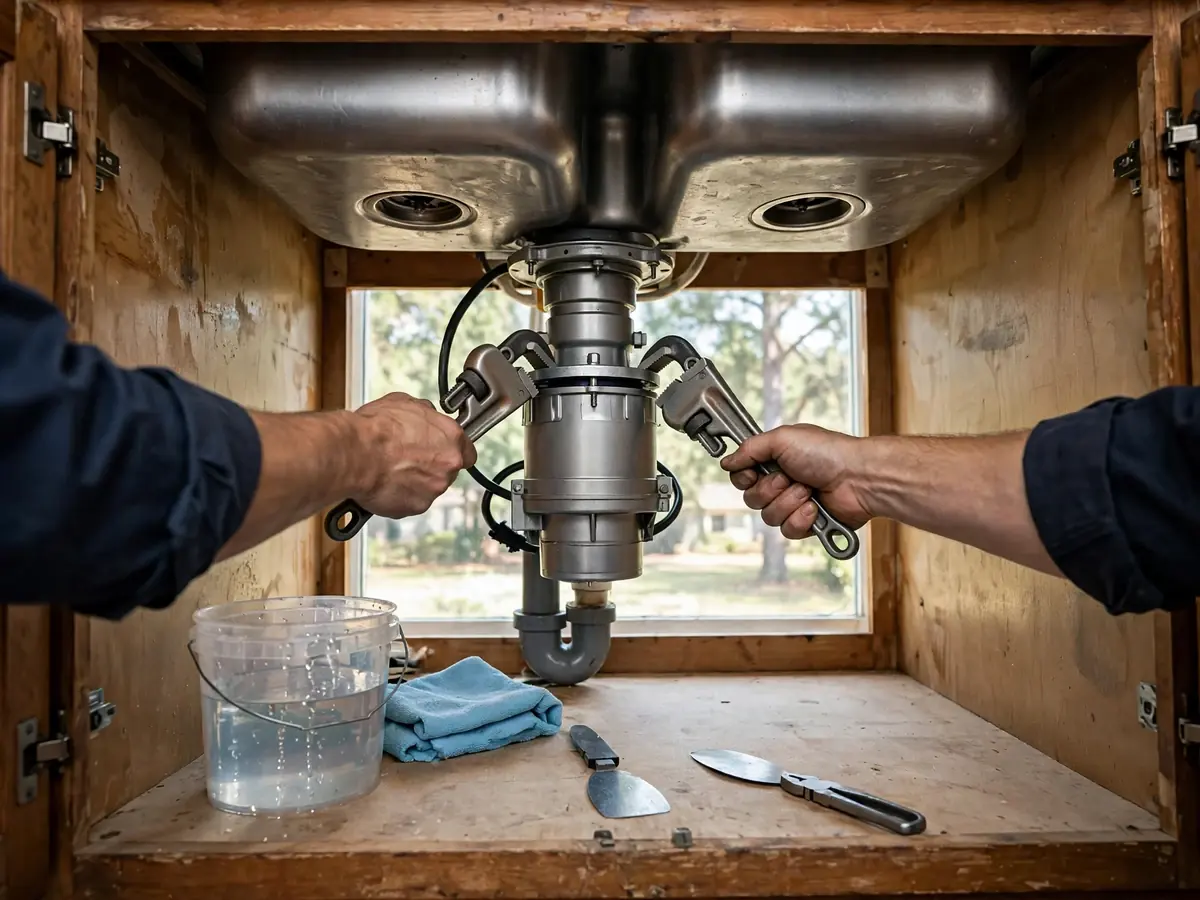
A garbage disposal installs under the sink and grinds food waste into particles small enough to wash through the drain. InSinkErator is the best-known brand, and most models mount the same way. The job is within reach of a handy homeowner, but it involves electricity, a dishwasher connection and a drain that has to be sealed well. Here is how the install goes and where people get into trouble.
Before you buy: check the basics
Questions to answer first
- Is there a switch and power? A disposal needs a switched outlet or a hardwired connection. If there is none, an electrician may need to add one.
- Does the sink have a standard drain opening? Most do, but some specialty sinks need a different kit.
- Is the home on a septic system? Disposals add solids to a tank. Ask a septic professional first.
- Is the drain in good shape? Old or slow drains will clog quickly when you add a disposal.
The installation steps
Turn off power at the breaker and verify it is off. Remove the old disposal or the sink strainer. Clean the sink opening, apply plumber's putty to the new sink flange and set it in place, then secure the mounting assembly under the sink according to the manufacturer's instructions.
Knock out the dishwasher inlet plug if the dishwasher drains into the disposal. Connect the dishwasher hose, attach the discharge tube and the trap. Wire the unit, hand-tighten the mounting ring and test for leaks with water running.
| Step | Common mistake | How to avoid it |
|---|---|---|
| Mount the flange | Too little putty, leak at the sink | Press firmly and wipe excess |
| Dishwasher port | Forgetting to knock out the plug | Remove the plug and the debris |
| Wiring | Loose connection or no ground | Follow the manual and use a cover plate |
| Drain connection | Cross-threaded or loose fitting | Hand-start the threads, then snug |
| First test | Running dry | Run cold water and check every joint |
Prefer to have a plumber handle it? Call and ask about an install.
Call (860) 397-8103Plumbing issues to watch for
Grease and starch cause most disposal clogs. Run cold water during use and for several seconds after, and avoid putting grease, coffee grounds, pasta and rice into the unit. Fibrous foods such as celery stalks wrap around the shredder.
If the sink drains slowly after install, the line beyond the unit may be partly blocked. Our drain cleaning page covers clearing it. A leak at the base means a failed seal or a cracked housing, which needs repair or replacement.
Sewer, septic and a disposal in Windsor
Windsor is an MDC member town, and many homes connect to the MDC sewer. A disposal sends more solids into the lateral, so a home with an old cast iron or clay lateral and mature trees nearby is more likely to clog. A camera inspection tells you the condition of the line before you add load to it.
Not every nearby property is on a sewer. In East Granby, town planning documents say only about thirty percent of the town is on the municipal water system, and septic is common where public utilities do not reach. If your property uses septic, ask a septic professional before you install a disposal.
Source type: MDC member-town information and East Granby town planning documents in the Capitol Region hazard mitigation plan.
Electrical and code notes
Wiring a disposal is simple, but mistakes are dangerous. Use the correct wire gauge, a proper junction box and a grounded circuit. Some areas require a GFCI outlet near water. Permit rules vary, so ask the Windsor building department what applies to your project.
If you are replacing an existing disposal, the wiring is usually in place. If you are adding a new one, plan for the electrician.
When to call a plumber
Call if the sink flange will not seal, if the drain is old and slow, if the dishwasher connection is unfamiliar or if you do not have power under the sink. A plumber can also advise on what size and model suit your household. If the unit is leaking now, see garbage disposal repair and installation and our 24/7 line.
We install disposals in South Windsor, East Granby and across Windsor.
After the install: break-in and care
Run cold water and a few small ice cubes through the new unit to check for noise and leaks. Look under the sink after the first day and again after the first week, since a slightly loose mount shows up with use. Check the dishwasher connection by running a cycle with the cabinet door open.
Grind small amounts at a time, with cold water running. Skip grease and large bones. Clean the unit now and then with ice and a few citrus peels to freshen it. A disposal that is cared for runs for years, and one that is treated like a trash can does not.
Checking the drain before the new unit goes in
Fill the sink with a few inches of water and pull the stopper. A healthy drain empties briskly with a smooth swirl. A slow drain will not improve with a disposal on top of it, and the added waste can make the clog worse. Clean the trap and the branch line first.
Look at the trap too. An old, corroded or sagging trap should be replaced during the install, since it is easy to reach while the sink is open. A new trap and fresh slip washers cost little and avoid a leak under the cabinet a few weeks later.
Frequently asked questions
Many homeowners can if power and the drain are ready. If you are unsure about the wiring or the drain, a plumber can do it.
If there is no switched outlet or hardwired connection under the sink, yes.
Knock out the plug in the disposal's dishwasher port, then attach the dishwasher drain hose to it.
Ask a septic professional first. Disposals add solids that raise pumping needs.
Grease, coffee grounds, pasta, rice, fibrous vegetables and non-food items.
Plumbing problem that cannot wait? Call the 24/7 line.
Call (860) 397-8103